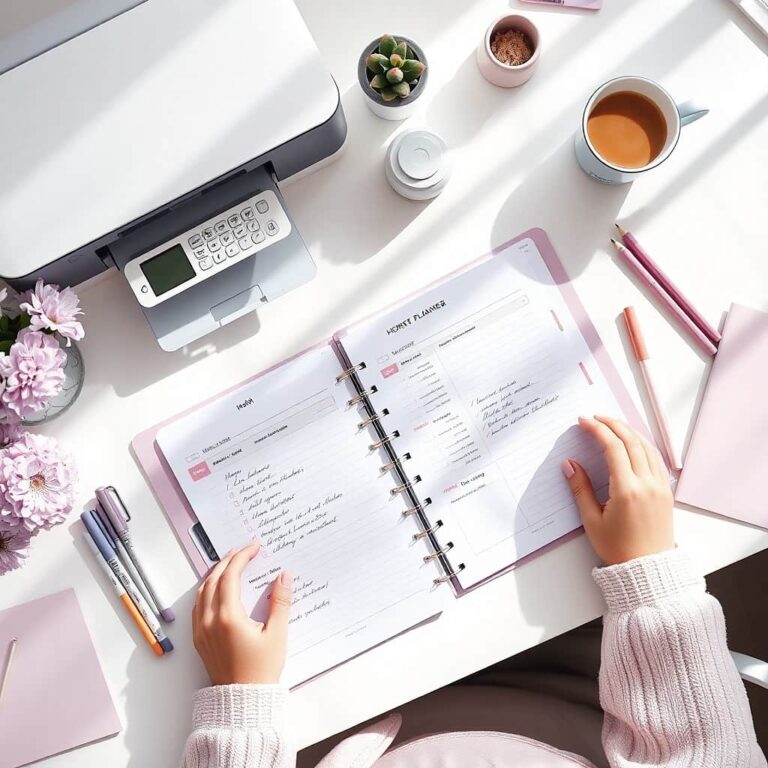
How to Print a Planner at Home (Without Spending a Fortune)
Ever downloaded a printable planner and wondered, “Now what?” You’re not alone! Printing your planner at home is simple, affordable, and gives you full control over your layout, paper quality, and personalization.
Whether you want a daily schedule, meal planner, or work-from-home organizer, this guide will show you how to print and assemble your planner frugal mom style.
This post may contain affiliate or referral links, which means I may earn a small commission
if you make a purchase or sign up through my link— at no extra cost to you.
I only recommend products and services I trust and would suggest to my friends.
For more details, please see my full disclosure.
Step 1: Choose Your Planner
Pick a printable planner that fits your lifestyle and goals — from budgeting to meal planning or tracking your side hustle progress.
Check out my Planner Shop for a variety of designs that are both practical and pretty. Once you’ve selected your planner, download the PDF file and get ready to print!
Step 2: Choose Your Binding System
Your binding method determines your planner’s final function and required tools. Choose the system that fits your lifestyle:
| System | Tool Needed | Key Feature |
| Ring-Bound | Standard 3-hole (or 6-hole) punch. | Most affordable and flexible; easily add and remove pages, but is bulky. |
| Disc-Bound | Specialized disc punch and discs. | Highly customizable and allows the planner to fold completely back on itself. |
| Spiral/Coil | Professional service at an office store. | Provides a smooth, store-bought look that lies flat. (Note: This binding is permanent.) |
Step 3: Gather Your Supplies
Printing at home doesn’t require expensive equipment. Here’s what you’ll need:
- Printer (inkjet or laser)
- High-quality paper (24–28 lb. or 100–120gsm for a smooth, professional feel)
- PDF reader (Adobe Acrobat Reader is free and reliable)
- A hole punch, disc punch, or other binding tools (based on the system you chose in Step 2).
- Optional: stickers, dividers, washi tape, or labels for a personalized touch
Step 4: Know Your Planner Size
Make sure your planner pages match your binder or system. Common sizes include:
| Planner Size | Inches | Millimeters | Typical Use |
|---|---|---|---|
| A4 | 8.3 × 11.7 | 210 × 297 | Popular internationally; fits standard European binders |
| Letter / US Letter | 8.5 × 11 | 216 × 279 | Standard size in the U.S.; works with most binders and folders |
| Half Letter | 5.5 × 8.5 | 140 × 216 | Compact U.S. option; fits smaller binders and planners |
| A5 | 5.8 × 8.3 | 148 × 210 | Very popular for personal planners; easy to carry |
| Personal | 3.75 × 6.75 | 95 × 171 | Smaller planners for on-the-go; fits leather organizers like Filofax |
| 3.2 × 5 | 81 × 126 | Ultra-portable; often used for mini planners or inserts | |
| Traveler’s Notebook (TN) | 4.33 × 8.25 | 110 × 210 | Insert size for TN-style notebooks |
Tip: Measure an existing insert or check your planner’s specs to ensure your pages fit perfectly.
Step 5: Open Your PDF Correctly
Always open your planner PDF in Adobe Acrobat Reader. Avoid printing from your browser — it can resize or shift the layout, making trimming and punching harder.
Step 6: Set Up Your Printer
Check these printer settings for the best results:
- Paper Size: Match your paper to your planner (Letter or A4).
- Print Quality: High or Best for professional results.
- Scaling: Set to “Actual Size” or 100%, not “Fit to Page.”
- Double-Sided: If using duplex, select “Flip on Short Edge” for two-up files. If manually, print odd pages first, then flip the stack to print even pages.
Step 7: Preview, Test, and Prepare Your Final Print
Always use Print Preview to catch margin or alignment issues. Print 1–2 test pages first to ensure everything looks perfect.
Once your test print is approved, apply these two “frugal mom” tips before printing the full planner:
- Print Pages Selectively: You don’t have to print every page in your planner. If there are sections or inserts you don’t need, skip them! Why spend extra money, paper, and ink on pages you won’t use? Pick and choose only the pages that work for your life—your planner, your rules.
- The Single-Sided Cover Rule: Always print your cover page single-sided. The back side of that sheet should be left blank so that when your planner is bound, you have a clean surface facing your first content page.
Load your high-quality paper, press Print, and let your printer work its magic.
Step 9: Trim, Punch, and Assemble
Trim your pages using a paper trimmer for clean, straight edges (or scissors for a quick test print). If your planner is already sized for 8.5 × 11 paper, you can skip trimming altogether — just print and go!
Now, punch holes and assemble your pages into the binding system you chose in Step 2.
- Ring-bound: Use your 3-hole or 6-hole punch.
- Disc-bound: Use your disc punch.
- Spiral/Coil Binding: Take your trimmed stack to the office supply store.
Assemble pages in the system you choose.
Add dividers, labels, stickers, or washi tape for a personal touch.
Celebrate Your DIY Planner
You did it! Your planner is fully customized, functional, and uniquely yours. Enjoy the satisfaction of organizing your days, weeks, and months your way.
Share your planner setup in my Facebook group — I love seeing how you use your printables.
Happy Planning
Ready to put your new skills to use? Head to my Freebie Library to grab a planner printable you can start with today — or stop by The Frugal Work at Home Mom Shop to find the perfect planner to print, personalize, and love!